If you own a planer, build a planer sled — it is the fastest route and it costs a sheet of plywood and some shims. If you own neither, a No. 5 jack plane and a pair of winding sticks will flatten any board you can lift, and that is how it was done for several centuries. A router sled is the third option and the only one that works on a slab too wide for any machine you own.
What you cannot do is feed a twisted board through a planer and expect it to come out flat. That is worth understanding before you pick a method, because it is the reason this problem exists at all.
Why a planer will not do this on its own
A thickness planer references the bottomface. Its feed rollers press the board down against the bed, the cutterhead removes material from the top, and the result is a top face parallel to the bottom one. If the bottom face is cupped or twisted, the rollers flex the board flat as it passes through, the knives cut a flat top, and the board springs back to its original shape on the far side — now thinner, and just as twisted.
A jointer solves this by referencing a fixed flat table instead and taking material only off the high spots. Every method on this page is a way of recreating that: hold the board rigidly in the shape you want to keep, and cut a flat surface relative to something that is not the board.
First, read the board
Before you remove anything, work out which of four defects you have, because it decides how much wood you are about to lose.
- Cup— the board curls across its width, like a shallow gutter. The cheapest defect to fix, and often the cheapest to avoid: rip the board down the middle and each half is nearly flat.
- Bow— a curve along the length, face up or face down. Costs thickness in the middle or at the ends.
- Crook— a curve along the length in the edge, not the face. This is an edge-jointing problem, not a face-flattening one.
- Twist (wind)— the two ends are in different planes. The expensive one, because flattening it costs you material at two diagonally opposite corners.
Find twist with winding sticks: two straight, parallel-sided sticks laid across each end of the board. Sight across them, and if the far one is not parallel to the near one, the board is in wind. This takes about four seconds and it is the single most useful trick in hand stock preparation. It is also how you know when to stop.
Method 1 — a jack plane and winding sticks
The oldest method and the one that needs no machine. Set the plane for a coarse cut, work diagonally across the grain in both directions to knock the high corners down, check with winding sticks and a straight edge, and finish with passes along the grain.
- Clamp or wedge the board so it cannot rock. A board that rocks will be planed into a new curve. Shims under the low corners, planing stops at the end.
- Plane diagonally in one direction across the whole face, then diagonally the other way. This crossing pattern removes high spots and will not follow the board's curve the way with-grain planing does.
- Check with winding sticks at both ends and a straight edge along, across and corner to corner. Pencil the high spots and take them down.
- Finish with light passes along the grain to remove the diagonal scratch pattern.
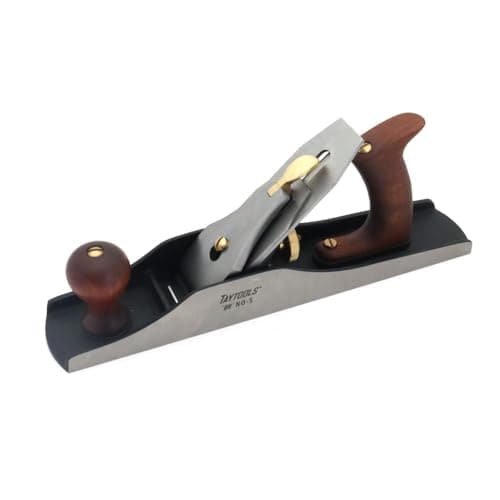
A No. 5 jack plane is the right tool: a 14 in. sole is long enough to bridge hollows and short enough to be manoeuvrable, which is exactly the compromise a jack plane exists to make. Our hand plane types guide explains why the numbers mean what they do, and how to tune a hand planeis required reading first — an untuned plane will not do this job at all.
Method 2 — a planer sled
If you own a thickness planer, this is the fastest way to a flat face, and the materials cost almost nothing.
Build a flat, rigid carrier — a torsion box or a stiff sheet of plywood with a cleat at the back — and shim the board on top of it so it sits immobile and unrocking in the orientation you want to keep. Hot glue the shims so they cannot move. Run sled and board through the planer together. The planer now references the sled'sflat bottom, not the board's warped one, so the face that comes out is genuinely flat.
Then remove the board from the sled, flip it, and run it through normally to make the second face parallel to the first. The sled has done the jointer's job once; the planer does its own job from there.
Two cautions. Take very light passes — the board plus sled is a tall stack and a heavy cut will lift it. And make sure nothing but the board is in the cut path: a knife meeting a shim is an expensive noise.
Method 3 — a router sled
For anything too wide for your machines — a live-edge slab, a wide tabletop — a router on rails is the answer. Build two parallel rails either side of the board, set a flat carriage across them holding the router, and traverse a large flat-bottomed bit back and forth across the face in overlapping passes.
It is slow, it is noisy, and it makes an extraordinary amount of dust, which is the honest summary. It is also the only method on this page with no width limit, and for one slab it is far cheaper than any machine that could do the job. A 2 HP-class router with a 1/2 in. collet is the minimum; a trim router will overheat.
Finish a routed surface by sanding — the overlapping passes leave shallow ridges you will see under finish. Our grit progression guide covers the sequence, starting coarse.
And the honest fourth option
Buy the board surfaced. Most lumber yards will joint and plane stock for a per-board-foot charge, and for one or two boards it is cheaper than any of the above and takes no time. The reason to own the capability is volume and control, not a single project.
You can also sidestep the problem. Rip a cupped board into narrower pieces and glue it back up — each narrow piece has far less cup to remove, so you lose less thickness overall. That is standard practice for wide panels and it is covered in how to glue up a panel.
The three methods compared
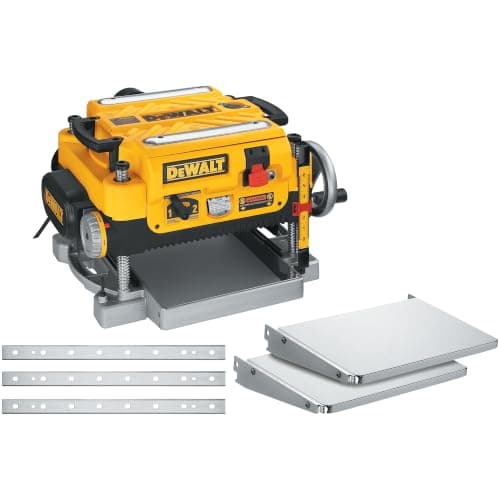
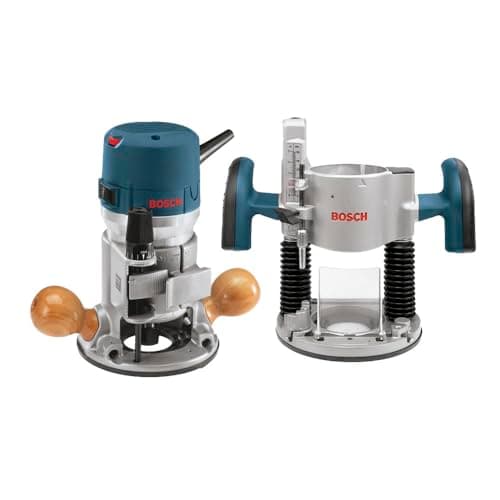
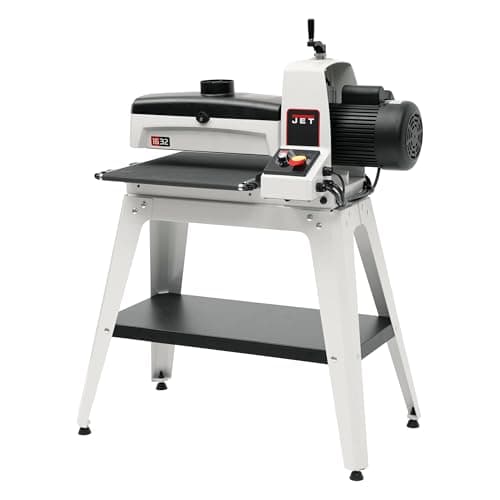
Which method suits which board, and what each needs. The tools ranked above map onto the rows in order: a jack plane, a planer to run a sled through, a router for a router sled, and a drum sander for the case below where none of the three is right.
| Method | Best for | Width limit | What it needs |
|---|
| Jack plane + winding sticks | Any board; the only method with no machine | None | A No. 5 plane, winding sticks, a straight edge, a sharp iron |
| Planer sled | Fastest route if you own a planer | Planer width (typically 12–13 in.) | A thickness planer, a flat carrier, shims, hot glue |
| Router sled | Slabs wider than any machine you own | None in practice | A 1/2 in. collet router, rails, a carriage, a surfacing bit |
Why a jack plane and not a longer one
Plane length determines what the sole can bridge. A short plane follows every dip in the surface and will happily make a wavy board smoother and no flatter. A long plane rides the high points and cuts only those, which is what flattening means.
A No. 5 at 14 in. is the shortest plane with enough sole to do real flattening and short enough to work diagonally without fighting you. A No. 7 jointer plane at 22 in. is better at the final flattening pass and worse at the coarse work — most shops that do this by hand own both and start with the 5.
Sharpness is not optional for the hand method
A dull iron will not take a coarse diagonal shaving across the grain. It will skip, tear and leave you convinced the method does not work. Flatten the back of the iron, hone a straight edge with a slight camber at the corners so the plane does not leave tracks, and set the cap iron close for the finishing passes.
If that sentence contained unfamiliar terms, how to tune a hand plane covers all of them, and sharpening stones covers what to do it on.
Thickness is the budget you are spending
Every method here removes material, and twist removes the most. Before you start, measure the board at its thinnest point and decide what finished thickness you need. If flattening will take a 7/8 in. board below 3/4 in., you need a different board or a different plan — and the different plan is usually ripping it narrower.
It is also worth checking moisture before you spend an afternoon on a board. Wood that is still drying will move again after you flatten it, and a flat face today is a cupped face next month. A moisture meter settles that in seconds, and how to store lumber covers keeping stock stable once it is right.
Where a drum sander fits
It does not flatten — it references the conveyor underneath, exactly like a planer, so it has the same blind spot. What it does do is take a board that has been flattened by one of the methods above and bring it to a final thickness with no tear-out at all, which matters on figured stock that a planer would ruin. That trade is the whole subject of drum sander vs planer.
It is on this page because the honest sequence for a figured board is: flatten one face by hand or on a sled, then sand to thickness rather than plane to it.
Where these numbers come from
Sole lengths, blade widths, steel types, planer widths and cutterhead configurations, router horsepower and collet sizes, and drum sander specifications above are the manufacturers' own published listing specifications, cited per tool in Sources. The methods themselves are standard stock-preparation practice, described as technique rather than measurement — we have not measured flatness outcomes, we do not have a lab, and our methodology page says so. Prices come from the live price feed.