Set the gauge against the thing you are copying rather than against a ruler, tilt the stock so the wheel or pin trails behind the fence, and take two light passes instead of one heavy one. Those three habits are the difference between a crisp line you can register a chisel in and a ragged scratch that wanders with the grain.
The rule underneath all of them: always reference from the same face. A marking gauge copies a distance from whichever face its fence is pressed against. Scribe one joint from the outside face and the next from the inside, and the two parts will not line up however careful you were.
What the tool is actually for
A gauge answers one question: “where is the line that runs parallel to this edge, this far in?” It is the right tool whenever you need the same distance repeatedly, and the accuracy comes from the fence riding the work rather than from your reading of a scale. Four jobs account for most of its use:
- Dovetail baselines— scribed to the thickness of the mating board, which is where every chisel cut stops. See how to cut dovetails.
- Mortise walls— two parallel lines set to the width of the chisel, which is what a twin-cutter mortise gauge exists for: how to cut a mortise by hand.
- Tenon shoulders and cheeks— the same two lines carried around the end of the rail.
- Hinge gains, inlay edges and rebate lines— anywhere a router or chisel needs a wall to work to.
Set it off the work, not off a number
This is the habit that most improves accuracy, and it costs nothing. If the baseline has to equal the thickness of the mating board, hold the gauge's beam against that board and slide the fence until the cutter sits on its face. If the mortise has to equal the chisel, set the pins to the chisel's edges. You are copying a physical dimension, and transcribing it into a number and back again only adds two chances to be wrong.
When you do need a dimension from a scale — and sometimes you do — set it against a good rule or a combination square blade and then check by scribing a test line on scrap. A micro-adjust gauge earns its money here: the last two thousandths of a setting are almost impossible to achieve by tapping the fence.
Grip and angle
Hold the gauge so the fence is pressed firmly against the edge of the board by your fingertips, with your thumb behind the beam. Then tilt the whole tool forwards so the cutter trails the fence rather than leading it. A wheel cutter tilted this way slices a clean V; held upright or leaning backwards, it tries to dig in and the fence lifts off the edge.
Push or pull, whichever is more comfortable for the direction of travel — a wheel gauge cuts happily either way. What matters is that the fence never loses contact. If it does, you will see it: the line will have a kink exactly where contact broke.
Two light passes, not one heavy one
The first pass should barely mark the wood. It establishes the line; the second deepens it. A single heavy pass is the main cause of a line that follows the grain instead of your fence, because a deep cut in early wood will dive into the softer fibres beside it.
On a rising grain, or across a knot, come at it from the other direction instead of pushing harder. And on end grain, expect to need three or four very light passes — end grain resists a wheel and crumbles under a pin.
Wheel or pin?
A wheel gauge has a small round blade that cuts a fibre on every side of the line, so it works cross-grain as cleanly as with the grain. It is the easier tool and the one we would buy today. A pin gaugedrags a point through the fibres, which works well with the grain and tends to tear across it — the traditional fix is to file the pin into a tiny knife edge, which is effectively converting it into a cutter.
A mortise gauge is the same tool with two cutters, one of them adjustable, so it scribes both walls of a mortise at once. If you cut mortise-and-tenon joinery, it saves a setting and a mistake on every joint. Our full ranking of all three patterns is at best marking gauge.
Marking gauge, marking knife or pencil?
They are three different tools for three jobs, and using the wrong one is a common beginner's mistake:
- Gauge: any line parallel to an edge. Repeatable without measuring.
- Knife: any line square or angled across a board, struck against a square or bevel. This is what a saw starts in.
- Pencil:anything that is not a cutting line — face marks, waste hatching, part numbers, notes to yourself. A pencil line is about a sixty-fourth wide and has no business defining a joint.
One practical point about scribed lines: they do not erase. A gauge line in the wrong place has to be planed out. Mark waste with a pencil, scribe only the lines you are certain of, and on show faces keep the gauge inside the area that will be cut away where you can.
What to buy
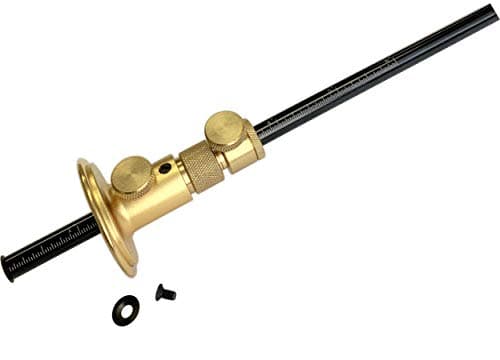
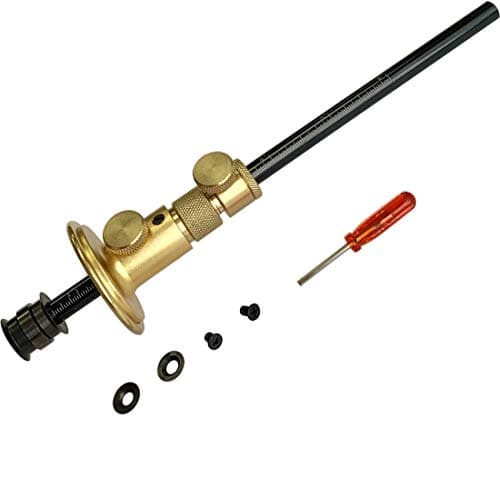
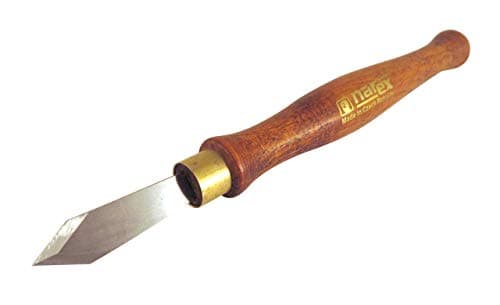
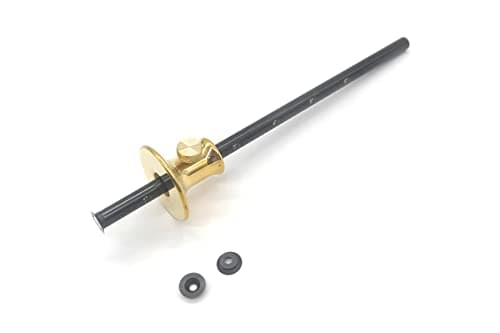
A single wheel gauge with a micro-adjust does almost everything, and a mortise gauge is the second purchase if you cut frame joinery. A marking knife is not a gauge but it belongs in the same order, because half the lines on any joint are cross-grain and a gauge cannot make them. The four below are the ones we would buy.
The four side by side
Published listing specifications for the four tools above. The micro-adjust column is the one that changes how the tool feels in use: without it, the last fraction of a setting is a matter of tapping the fence on the bench and hoping.
| Tool | Pattern | Published specifications |
|---|
| Taytools 467603 | Single wheel gauge | Machined brass head, hardened beam, 8 in. beam, SAE and metric graduations |
| iGaging micro-adjust | Single wheel gauge | Micro-adjust mechanism, wheel cutter, 1/32 in. and 1 mm scales |
| iGaging mortise gauge | Twin-cutter mortise gauge | Twin cutters, micro-adjust, doubles as a single gauge |
| Narex dual marking knife | Marking knife (companion tool) | Mn-V steel, claimed HRC 61, double bevel, thin blade |
Keep the cutter sharp, and the fence flat
A wheel cutter dulls, and a dull wheel crushes rather than slices — the symptom is a line that looks fuzzy and will not hold a chisel. Honing one takes a minute on the fine side of a stone: lay the wheel flat on the stone and rotate it, taking off the burr rather than trying to grind a new bevel. The stones are at best sharpening stones.
The fence matters as much as the cutter. If the face that rides the work is not flat and square to the beam, every line is slightly off and you will blame your sawing. A machined brass or steel head stays flat; a stamped one may not be flat when it arrives.
Face side, face edge: the convention that makes this work
Before any gauge touches a board, mark one face and one edge as the reference pair — traditionally a looped pencil mark on the face and a V pointing to it on the edge. Every gauge line on that board then gets referenced from the marked face or the marked edge, with no exceptions.
This is not fussiness; it is the mechanism by which parts that are not perfectly square still assemble square. A frame whose rails are all gauged from their outside faces will have a flat outside face even if the stock varies in thickness. Combine it with a reliable square — see best woodworking squares— and most layout error disappears.
If your stock is not flat, the gauge cannot save you
A gauge references an edge. If that edge is bowed, the line is bowed too, parallel to the bow. Flattening and squaring stock comes first, and if you do not own a jointer, flattening a board without a jointer covers how to get there with planes you may already have.
Where these numbers come from
The head materials, beam lengths, graduations, steels and hardness claims above are the manufacturers' own published listing specifications, cited per tool in Sources. The technique is standard practice rather than something we measured; we do not run a lab, and our methodology page says so. Prices come from the live price feed and carry the date they were pulled.