A router does not cut a dovetail freehand. It follows a template, and everything that determines whether the joint fits happens before the router is switched on. Get the setup right and the joint is repeatable forever. Get it wrong and you produce twenty identical bad joints very efficiently.
This guide assumes a router and a dovetail jig. If you want to cut them by hand instead — and there are excellent reasons to — read how to cut dovetails by hand. If you have not decided between the two approaches yet, our jig versus hand-cut comparison is the place to start.
Half-blind or through?
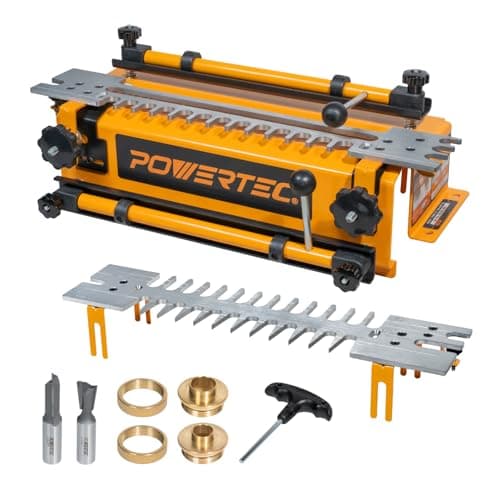
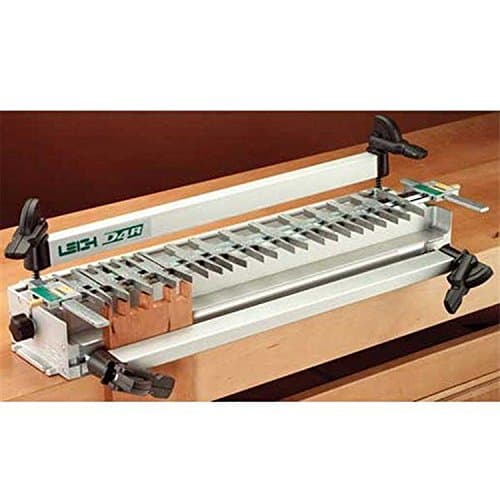
Half-blind dovetails — the pins stop short so the joint shows on one face only — are what drawer fronts want, and they are what fixed-template jigs cut with the least fuss. One bit, one bushing, both parts cut in a single pass with the boards clamped at right angles.
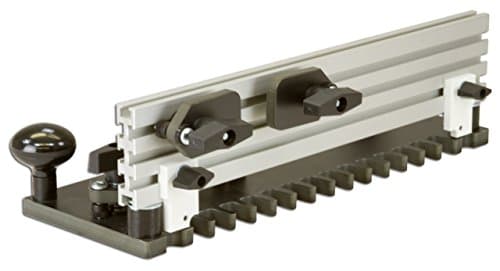
Through dovetails — visible on both faces — are the ones people photograph. They need a jig with adjustable fingers or a separate template, because the tails and pins are cut in separate operations with different bits. More setup, more capability.
Check which your jig does before you plan the project. A fixed-template jig will not cut through dovetails at any spacing, and a variable-spacing jig takes longer to set up for the half-blind joint you might actually want.
The setup sequence, in order
1. Mill your stock to consistent thickness
Every dovetail jig references off the face of the board. If two boards differ in thickness by even a small amount, the depth of cut differs and the joint fits differently on each. Run everything through the planer in one session and keep offcuts from the same run for test pieces — this is the single most important step and the one most often skipped.
2. Mark face sides and keep them consistent
Mark the face side and top edge of every board and always load them into the jig the same way round. Dovetail jigs are not symmetrical, and a board loaded backwards produces a joint that is a mirror image of the one you need.
3. Fit the bit and the bushing
A dovetail bit and its guide bushing are a matched pair, and the jig's instructions specify both. Substituting a bit of the same angle but different diameter changes the joint geometry entirely. Seat the bit properly in the collet — not bottomed out, but with the shank well engaged — and tighten fully.
4. Set the depth of cut
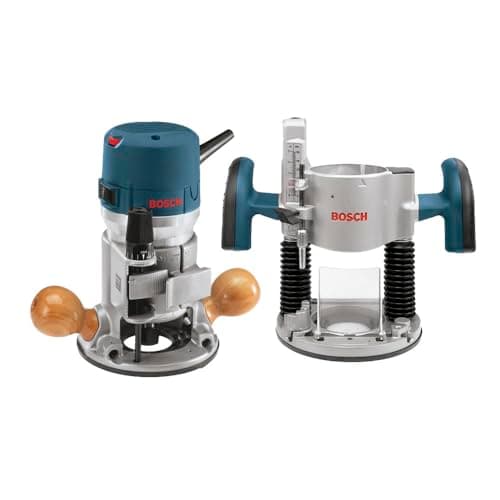
This is the adjustment that controls fit. Deeper cuts make the tails narrower and the joint looser; shallower cuts make it tighter. It is measured in fractions of a millimeter, which is why a plunge or fixed base with a fine height adjuster — the kind on a good router — makes this far less painful.
5. Cut a test joint. Then another.
Nobody sets a dovetail jig correctly first time. Cut a joint in your offcuts, assemble it dry and judge: too tight to push together by hand means reduce the depth slightly; loose enough to rattle means increase it. Adjust in very small increments — a quarter turn of the depth adjuster is a big change here. Two or three test joints is normal and it costs you ten minutes.
6. Cut the real thing without touching the setting
Once a test joint fits, cut every joint in the project before changing anything. If you have to stop, mark the setting and expect to re-test when you come back.
Routing technique at the jig
Move left to rightacross the template so the bit's rotation pulls the router into the fingers rather than away from them.
Keep the base flat on the template. Tipping the router changes the effective depth and produces a joint that fits at one end and not the other.
Take a light scoring pass first — a shallow left-to-right pass across the board edge before the full-depth cut — to reduce tear-out on the visible face.
Do not pause mid-cut. A stationary spinning bit burns, and burn marks in a dovetail socket are almost impossible to remove.
The four mistakes that ruin a first attempt
Inconsistent stock thickness. Covered above, and worth repeating because it accounts for more bad router dovetails than everything else combined.
Boards not seated against the stops. A gap of a millimeter at the stop shifts the whole joint. Push firmly, clamp, then check the board has not crept.
Adjusting depth and bit at the same time. Change one variable, test, then change the other. Changing both leaves you unable to tell which fixed or broke the fit.
Testing on different wood. A test joint in soft pine will compress into fit; the same setting in hard maple will not go together. Test in the species you are building with.
Glue-up
Dovetails are a long-grain-to-end-grain joint with a great deal of surface area, and they need glue on the tail faces rather than in the sockets — glue pooled in a socket hydraulically resists assembly. Use a glue with a reasonable open time, because a drawer has four corners and you are assembling all of them at once.
What we could not verify
This is the standard published setup sequence for template dovetail jigs, laid out plainly. Bit and bushing pairings, template capacities and joint types come from the jig manufacturers' own documentation; we have not measured joint strength or fit tolerances ourselves.
Two pages sit either side of this one. Which router to put on the jig is decided by depth adjustment and collet size rather than power — see best router for a dovetail jig — and when a joint comes off the jig with a gap in it, how to fix gaps in dovetails covers both the repair and the setting that caused it.