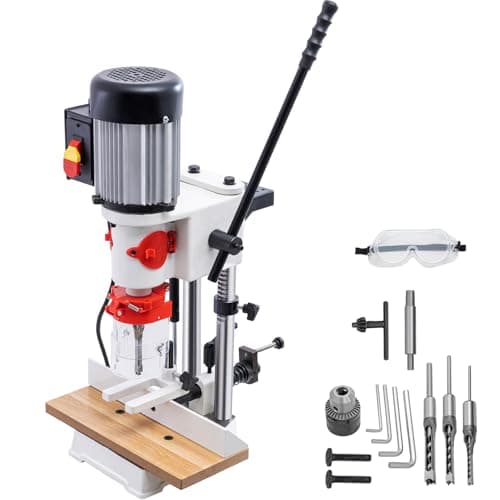
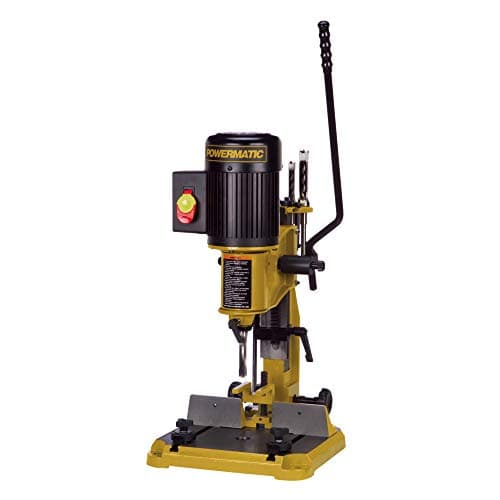
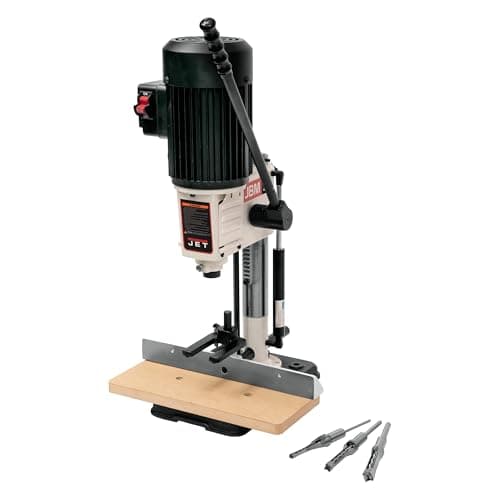
A hollow-chisel mortiser drills a round hole and shears the corners square in the same stroke. That is the whole trick: a square hollow chisel with an auger bit spinning inside it. The auger removes the bulk and clears the waste; the chisel walls pare the corners as the head comes down.
Two specifications separate these machines. Maximum chisel capacity caps mortise width — a 1/2 in. machine will not take a 3/4 in. chisel, and 1/2 in. covers most cabinet-scale joinery while 3/4 in. is what bench and table joinery wants. Stroke caps mortise depth in one setting; a longer stroke means fewer repositionings on a deep or through mortise.
The specification that is not on the box, and matters just as much, is rigidity. Driving a square chisel into hardwood generates real force, and a head that flexes puts the chisel out of vertical. The result is a mortise that is square at the top and not at the bottom — which shows up as a tenon that will not seat. Weight is a reasonable proxy: heavier machines flex less.
Before you buy any of them, be honest about frequency. Cutting mortises by hand with a mortise chisel is a genuine option and it is how furniture was built for centuries. A machine earns its bench space when you cut mortises on most projects, not on some of them.
Before you buy a machine, it is worth knowing what it is replacing. A mortise chopped with a chisel and mallet takes about twenty minutes and no floor space, and how to cut a mortise by hand walks through it — which is also the best way to judge whether a mortiser earns its bench space in your shop.
How to get a clean mortise
The chisels matter more than the machine
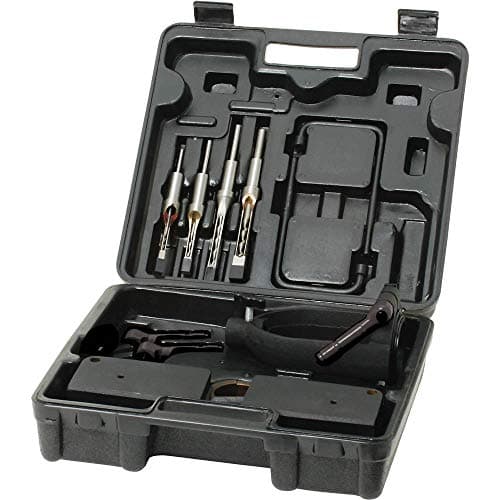
Every mortiser here cuts whatever chisel you put in it, and cut quality is almost entirely a function of that chisel being sharp and correctly set. A dull hollow chisel burns, binds and wanders. Chisels are usually sold separately, and buying good ones is a better upgrade than buying a better machine with poor ones.
Set the auger clearance properly
The auger has to sit slightly proud inside the chisel — commonly around 1/32 in., though the manual for your machine is the authority — so the two do not rub. Too tight and the chisel heats and burns; too loose and the auger leaves a ridge the chisel has to shear. Setting this correctly is the first thing to check when a mortiser starts smoking.
Cut the ends first, then the middle
Take the two end cuts of the mortise first, then work back along the middle. If you cut sequentially from one end, the chisel has waste on one side only and gets pushed off line by the unequal resistance. Ends first gives every subsequent cut support on both sides.
Clear the waste
Lift the head fully between cuts on a deep mortise so the auger can eject chips. Packed waste is the second most common cause of burning after a dull chisel.
Mortiser, router, or by hand?
A mortiser gives you a square-ended mortise in one operation with no jig setup. That is its advantage and it is a real one.
A router with an edge guide or a jig cuts a cleaner-walled mortise faster, but with rounded ends you must either square with a chisel or match with a rounded tenon. Many shops do exactly that and never own a mortiser.
By hand, with a mortise chisel and a mallet, is slower per mortise and needs no machine, no setup and no floor space. For two mortises it is genuinely quicker than setting a machine up.
The honest summary: buy a mortiser if you cut mortises regularly and want square ends without jig work. Otherwise the router you already own is doing fine.
The drill-press route
A mortising attachment clamps to a drill press column and holds the same hollow chisels. It is genuinely capable and costs a fraction of a dedicated machine. The two real drawbacks are that a drill press quill is designed for downward load rather than the side load a chisel imposes, so you must work gently, and that setup and teardown each session is a chore that eventually pushes people to buy the machine anyway.
What we could not verify
We have not cut mortises on these machines. Chisel capacity, stroke length and motor ratings are the manufacturers' published figures from the current listings; the advice on clearance, cut order and waste clearing is standard mortising practice, not a test result.