A pencil line has width. A gauge line does not — it is a severed fiber, and a chisel dropped into it registers there automatically. That is the whole argument for a marking gauge, and it is why joints from a shop that gauges its lines fit better than joints from a shop that pencils them.
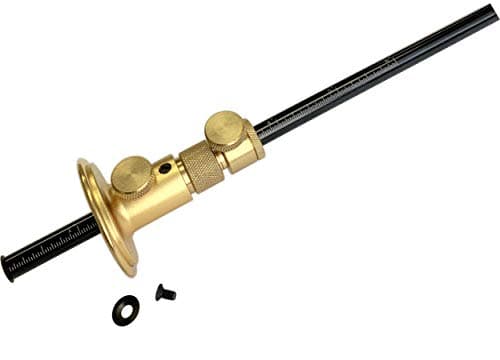
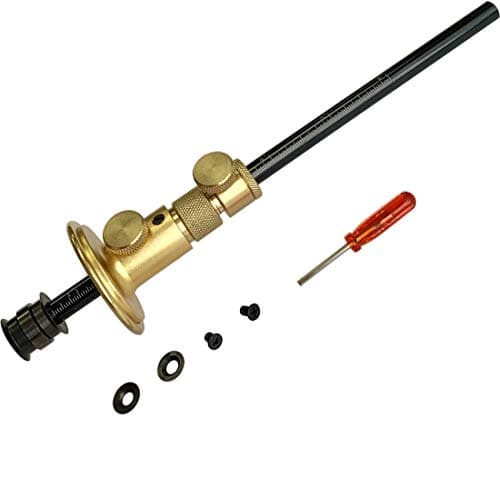
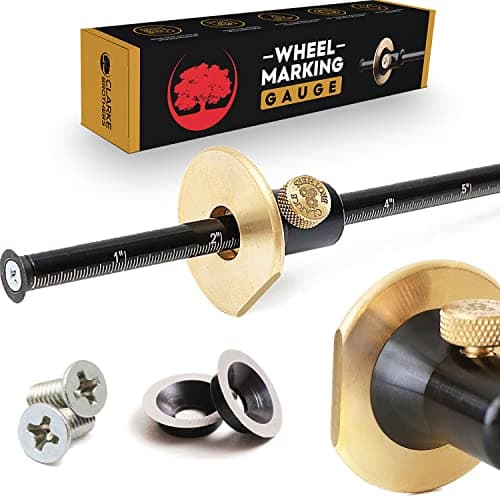
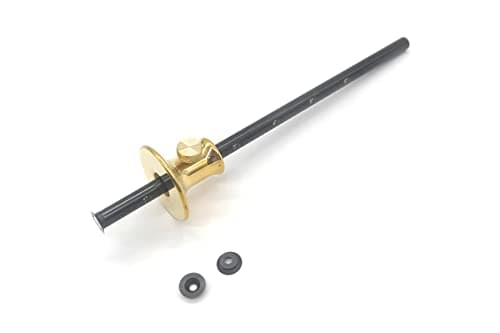
The first choice is wheel or pin. A wheel gauge carries a small circular cutter that severs fibers in any direction, including across the grain, leaving a clean scored line. A traditional pin gauge drags a point through the wood, which works well along the grain and tears badly across it. Neither is obsolete — pin gauges are still excellent for mortise layout, which is marked along the grain — but if you are buying one gauge, buy a wheel.
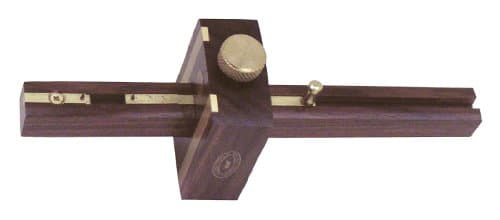
The second choice is single or twin cutter. A mortise gauge carries two cutters set independently, so one pass off one reference face marks both walls of a mortise. That guarantees the walls are parallel and correctly spaced, which is the failure most sloppy mortises trace back to.
The third factor is head mass. The gauge only works if the head stays pressed against the reference edge for the whole stroke. A heavy brass head does that almost by itself; a light head needs you to think about it. This is the difference you feel immediately and never see in a specification list.
A gauge is only as good as the habits around it — setting it off the workpiece rather than a ruler, tilting it so the cutter trails, and referencing every line from the same face. Those are in how to use a marking gauge.
How to actually use a marking gauge
Set it off the part, not the ruler
The single biggest accuracy gain available is to stop measuring. Setting a gauge to “3/8 in.” introduces the error in your rule, your eyesight and the gauge's graduations. Setting it directly off the chisel you will cut the mortise with, or off the thickness of the board it has to match, removes all three. The joint then fits the tool, not the number.
Tilt the gauge and pull, do not push
Lean the beam so the cutter trails slightly rather than digging in, keep firm sideways pressure on the head, and take two light passes instead of one heavy one. A gauge that jumps the grain is almost always being pushed too hard on the first pass.
Always work from the face side
Mark the face side and face edge of every board and reference the gauge off those two surfaces only. If one board is a whisker thicker than another it no longer matters, because every measurement is taken from the same face. This convention is centuries old for the reason that it works.
Gauge, knife or square?
These three tools do not overlap, and a shop wants all of them.
The gauge marks a line parallel to an edge — tenon cheeks, mortise walls, dovetail baselines, rebate depths. It is the only tool that does that repeatably.
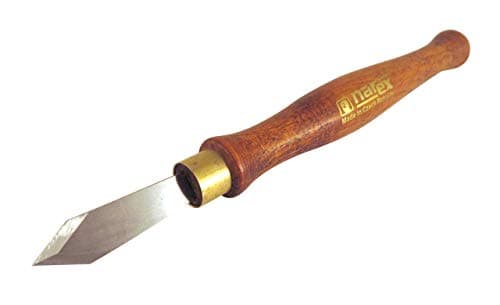
The knife marks a line across a board at whatever angle you set — shoulder lines, dovetail tails, crosscuts. A knife line is what stops a saw wandering and what gives a chisel its wall.
The square supplies the angle the knife follows. It marks nothing itself.
Where the gauge earns its money
Dovetails. The baseline gauged around all four faces at exactly the board thickness is what makes the joint close. Our dovetail guide starts with exactly that step.
Mortise and tenon. Set the twin cutters off the mortise chisel, mark both pieces without touching the setting, and the tenon fits the mortise by construction. Our mortise and tenon guide works through it.
Hinges and inlay. A gauge sets the depth of a hinge mortise more reliably than any depth stop, because the line is on the work rather than on a machine.
What we could not verify
We have not measured line width or cutter hardness across these gauges. Materials, beam lengths and graduations are taken from the manufacturers' current listings; the reasoning about wheel versus pin behavior and head mass is how the tools work in use.