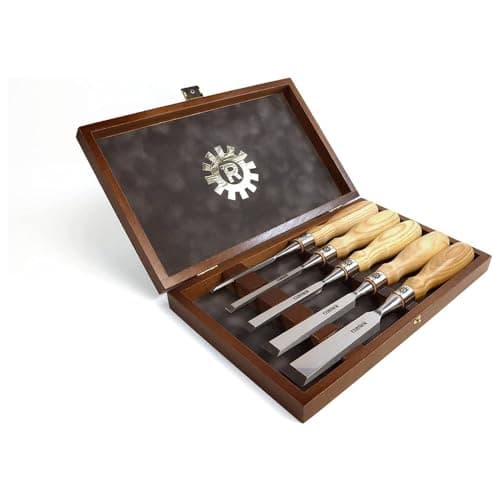
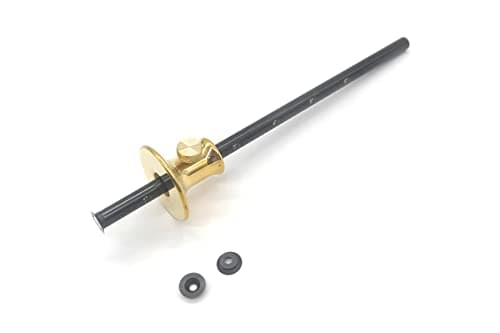
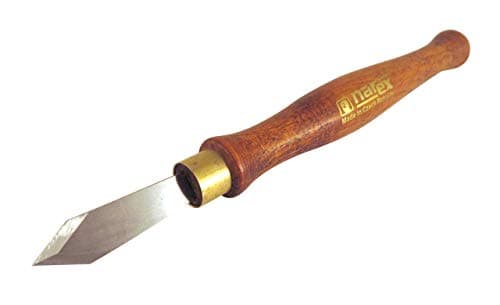
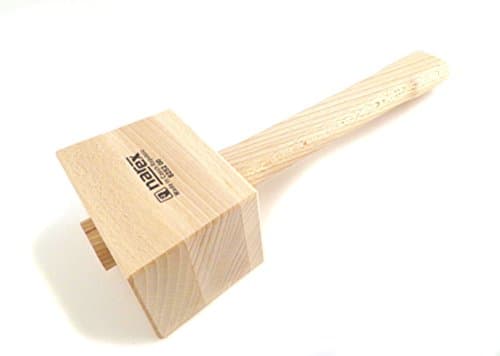
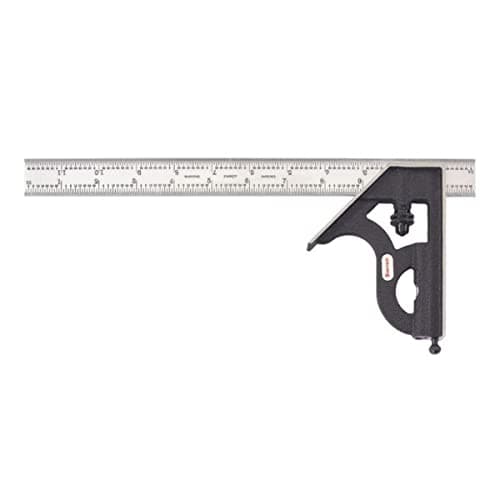
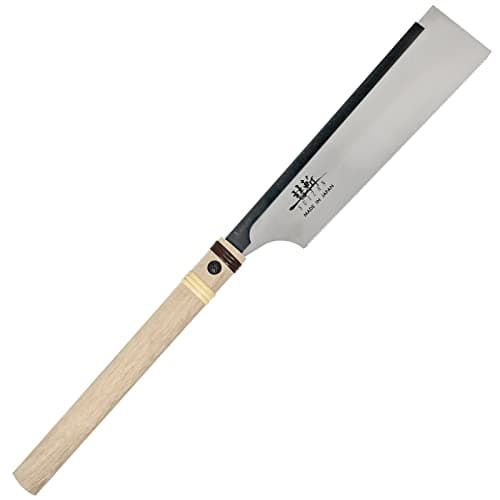
You need six tools: a backed saw, a set of bevel-edge chisels, a marking gauge, a marking knife, a mallet and a square. Start with the Suizan dozuki and the Narex Richter chisels — between them they do the cutting, and the other four make the cutting land where you intended. The one people skip is the marking gauge, and it is the one that most reliably decides whether the joint closes.
That is the whole list. No vice is on it, no router, no jig, no dovetail markers — those are conveniences. If you already own a square and a mallet, the real cost of starting is a saw, chisels, a gauge and a knife.
Why these six, in the order the work happens
A dovetail is cut in a fixed sequence, and each tool owns a step. Read the list as a process rather than a shopping cart and it is obvious why nothing here is optional.
1. The marking gauge sets the baseline
The first thing you do is scribe a line all round both boards at the thickness of the mating board. That baseline is where every chisel cut stops and where the joint's shoulders land. A pencil line is roughly a sixty-fourth wide and moves depending on how you hold the pencil; a gauge cuts a physical groove that a chisel can register in. A joint whose baseline was pencilled will have a visible gap on at least one shoulder, and no amount of careful sawing fixes it. Full ranking: best marking gauge, and the technique is in how to use a marking gauge.
2. The square and the knife lay out the tails
The square transfers the baseline across the end grain and keeps your layout honest; the marking knife cuts the lines the saw follows. A knife line is a slot the saw plate can start in, which is the difference between a cut that begins exactly on the line and one that begins near it. This is also where the layout of a joint gets decided — pin spacing, angle, which board gets the tails — and we work through that in how to cut dovetails.
3. The saw cuts the walls
A dovetail saw is a backed saw: a thin plate with a heavy spine that keeps it from flexing, and fine teeth filed for a cut that starts easily. A tenon saw is too coarse, a general hand saw is far too coarse and too thick, and a flexible pull saw with no back will wander. This is the one tool on the list where buying cheap genuinely costs you joints, and the family is ranked in full at best dovetail saw.
4. The chisels and mallet remove the waste
Everything between the saw cuts comes out with a chisel — chopped with a mallet down to just above the baseline from both faces, then pared to the line by hand. Bevel-edge chisels with thin side lands are what reach into the acute corner of a socket; a 1/4 in. and a 1/2 in. do most of it. Which set to buy for this specifically is best chisels for dovetails; the mallet options are at best woodworking mallet.
What is deliberately not on this list
A dovetail marker. A cast gauge that gives you a 1:6 or 1:8 angle is five dollars of convenience. A square and a sliding bevel do the same job, and so does a pencil line from a piece of scrap you cut once. Buy one if you like; it is not a tool the joint needs.
A vice.You do need to hold the work, and a vice is the pleasant way to do it — but a clamp and a bench hook will cut your first dovetails perfectly well. If you are buying one anyway, best woodworking vise ranks them and how to mount a bench vise covers fitting it.
A router and a jig. That is a different way to make the same joint, not a tool on this list. It costs more up front, produces a repeatable joint far faster, and is the right answer if you need twenty drawers rather than two: best dovetail jig and jig versus hand-cut lay the comparison out.
A sharpening setup. This one is not optional, it is just not a dovetail tool. None of these chisels arrive sharp enough to pare end grain, so a stone belongs in the first order: best sharpening stones.
The kit side by side
Published listing specifications for the six tools above, with the job each one does in the joint. Read it as a sequence: the first two rows are layout, the next two are cutting, the last two are waste removal and checking.
| Tool | Job in the joint | Published specifications |
|---|
| Taytools 467603 wheel marking gauge | Scribes the baseline on both boards | Machined brass head, hardened beam, 8 in. beam, SAE and metric graduations |
| Starrett C11H-12-4R combination square | Squares the layout across faces and end grain | 12 in. blade, 4R graduations, cast-iron head, hardened steel |
| Narex dual double-bevel marking knife | Cuts the lines the saw starts in | Mn-V steel, claimed HRC 61, double bevel, thin blade |
| Suizan dozuki dovetail saw | Cuts the tail and pin walls | 9.5 in. blade, cross-cut teeth, pull stroke, rigid back |
| Narex Richter bevel-edge chisels (5) | Chops and pares the waste to the baseline | Cr-V steel, claimed 62 HRC, set of 5, ash handles |
| Narex 460 g beech carving mallet | Drives the chisel | 460 g / 16 oz, beech head, round face, one-piece turned |
If you can only buy two things
Buy the saw and the chisels, and improvise the rest. A combination square you already own will mark a baseline if you are careful with a knife against it, and a hammer with a scrap block will drive a chisel without destroying the handle. What you cannot improvise is a saw that tracks a line or a chisel that pares end grain.
If you can only buy one thing and you already own chisels, buy the saw. Dull chisels can be sharpened on a stone you borrow; a saw that wanders cannot be corrected by technique, and more first attempts fail at the sawing stage than at any other.
Pull saw or push saw?
The dozuki we rank first cuts on the pull stroke, which puts the plate in tension and lets it be thinner — a thinner plate takes less wood and tracks a knife line readily, which is why Japanese saws have become the default recommendation for people learning dovetails. A Western gent's or dovetail saw cuts on the push stroke, is stiffer, and feels more controllable to some people for exactly that reason.
There is no correct answer, and both are on our dovetail saw page. What matters far more than the stroke direction is that the saw is backed, fine-toothed and filed cross-cut, and that you let it find the knife line rather than forcing it.
Thickness and the stock you practise on
The sizes above suit drawer-scale work in 1/2 in. to 3/4 in. stock, which is where almost all dovetails live. Practise in a straight-grained, mild hardwood — poplar, soft maple, cherry — rather than pine, because pine crushes under a chisel instead of cutting cleanly and will make you think the tools are the problem. Resawing or thicknessing your practice stock is a separate question, and if you have no machine for it, flattening a board without a jointer is the page that solves it with the planes you may already have.
When your first joints come out with gaps — they will — the causes are few and identifiable, and most are fixable on the next joint rather than with filler. We go through them in how to fix gaps in dovetails.
Where these numbers come from
The blade lengths, steels, hardness claims, head weights, graduations and set counts above are the manufacturers' own published listing specifications, recorded when we researched each tool and cited per tool in Sources. We have not measured plate thickness, tooth pitch or edge retention — we do not run a lab, and our methodology page says so. Prices come from the live price feed and carry the date they were pulled.