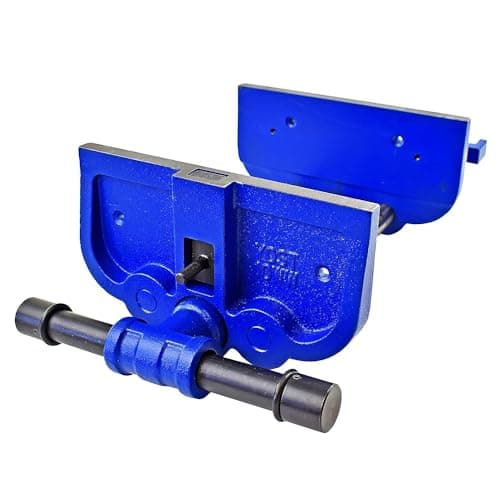
A woodworking vise is the difference between a bench and a table. It holds a board on edge so you can saw a joint, grips a rail while you plane it, and frees both your hands — which is the entire premise of hand-tool work.
The feature that decides whether you use a vise or work around it is quick release. A plain screw vise requires you to wind the handle open and closed for every change of workpiece — twenty turns each way on a wide opening. A quick-release vise disengages the nut from the screw so the jaw slides freely, then re-engages for the final tightening. It turns a fifteen-second operation into a one-second one, and over a project that is the difference between clamping properly and holding the work with your knee.
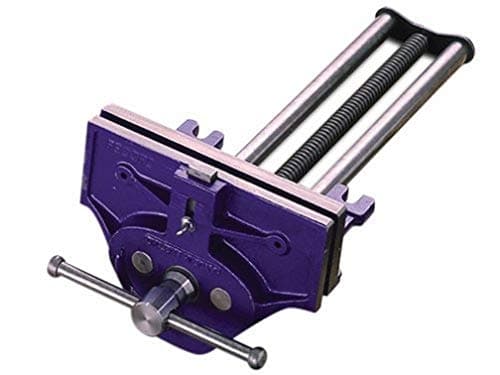
The second thing to understand is racking. A front vise grips at one point — the screw — so a workpiece clamped off to one side twists the jaw and grips only at the near corner. The traditional fix is to put a scrap of the same thickness at the opposite end of the jaw, which balances it. Better vises use twin guide rods and tighter tolerances to resist racking, and that rigidity is a real part of what the price buys.
Every vise here is a front vise— mounted at the front left of the bench, gripping work vertically. Two other patterns are worth knowing about: a tail vise at the end of the bench works with dog holes to clamp a board flat along the top for planing, and a leg vise is a tall wooden jaw that grips long boards for edge work. Both are excellent; neither is bolt-on the way a front vise is, which is why a front vise is what almost everyone buys first.
Whichever you buy, budget an hour for mounting and a scrap of hardwood for jaw liners. Bare cast-iron jaws bruise everything they touch. Liners — two pieces of 3/4-inch hardwood or plywood, drilled and screwed to the jaws through the provided holes — are the first thing to fit and the reason a well-set-up vise leaves no marks.
The specifications that matter
Jaw width
How wide a piece the vise can grip evenly. Seven inches handles most furniture parts; nine to ten inches grips a drawer side or a wide rail without racking. This is the headline number and the one worth paying for.
Jaw opening
How thick an assembly you can clamp. Ten inches is generous and covers glue-ups as well as single boards. Small openings become limiting the first time you try to hold a case side with a batten attached.
Jaw depth
How far from the edge the vise grips. Deeper jaws hold a long board further in from its edge, which stops it pivoting under a plane. It is also the specification manufacturers are least consistent about publishing, so check the listing rather than assuming a wide vise is also a deep one.
Mounting a vise properly
This is where most vise disappointment comes from, and it is entirely fixable.
- Mount it flush. The top of the vise jaw should sit slightly below the bench top, and the wooden liners should come up flush with it. A vise proud of the top catches every board you slide across the bench.
- Use a spacer if needed. Most vises need a packing block between the vise body and the underside of the bench so the jaws land at the right height. This is normal; the vise is not faulty.
- Bolt it, do not screw it. Lag bolts into a thick apron, or through-bolts with washers. A vise that pulls loose under load takes the bench top with it.
- Fit liners before first use. Two pieces of hardwood, slightly proud of the metal at the top. This takes twenty minutes and prevents every subsequent dent.
Toe-in
Good vise installations have the outer jaw angled in a degree or two at the top, so the jaws meet at the top first and grip the work where you are working on it. Some vises are cast with this built in; on others you plane a slight taper into the wooden liner. It is a small detail that makes a noticeable difference in grip.
Where a vise fits in a first shop
Below chisels and a sharpening setup, above almost everything else. Without workholding, hand tools do not work — you cannot saw a dovetail on a board held by your other hand. If you are building or buying a workbench, buy the vise at the same time and mount it before the bench sees any use.
By budget
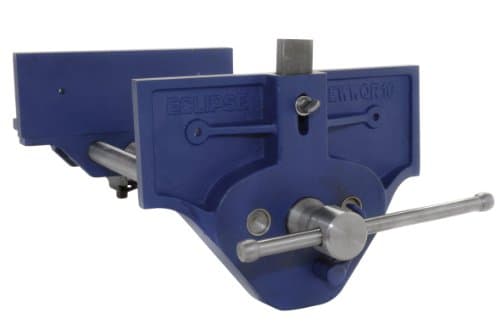
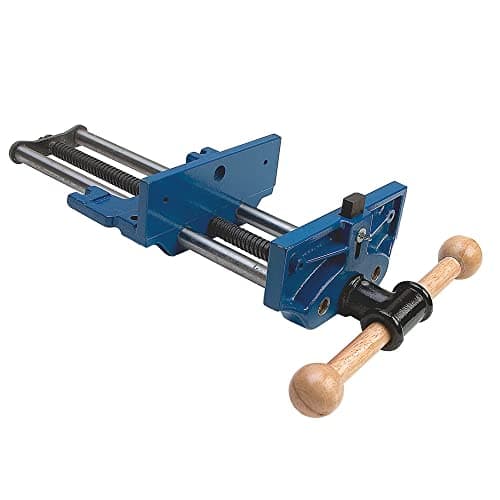
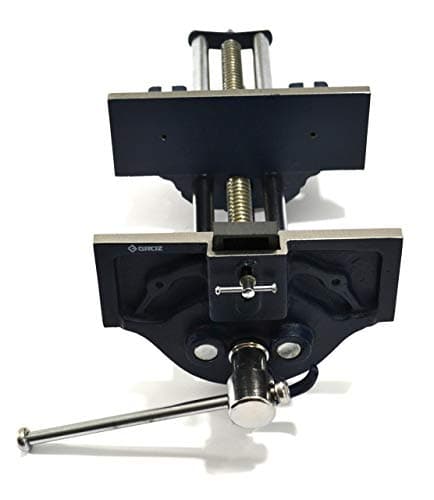
Widest jaws for the money: the Yost 10WW-CA, which gives 10-inch jaws for the least money — but winds in and out, with no quick release. Best feel: the Eclipse, which is nicer to use than its spec sheet suggests. Least racking: the Rockler, whose twin steel guide rods stop the jaw twisting when you clamp at one end. One-handed operation: the Groz trigger release. Buy once:the Record 52-1/2ED, the pattern most of the others are derived from — worth it if your bench has dog holes for its pop-up dog.
What we could not verify
We have not measured clamping force or jaw deflection. Jaw widths, openings, materials and release mechanisms above are the manufacturers' published specifications. Judgments about action and rigidity come from documented design differences and owner reviews read at volume.
Fitting it is most of the result
A vise mounted a quarter inch low is a vise you cannot plane against, clamp a long board in, or use with a bench dog — the wooden jaw liners have to finish flush with the benchtop, not below it. There is also a step almost no instruction sheet mentions: toeing the front jaw in by about 1/32 in. so the jaws come parallel under load instead of gripping at the bottom only. How to mount a bench vise covers the fitting, including how to pack out a bench that is too thin.