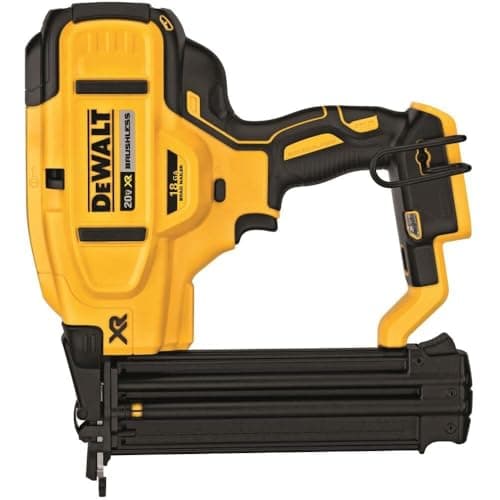
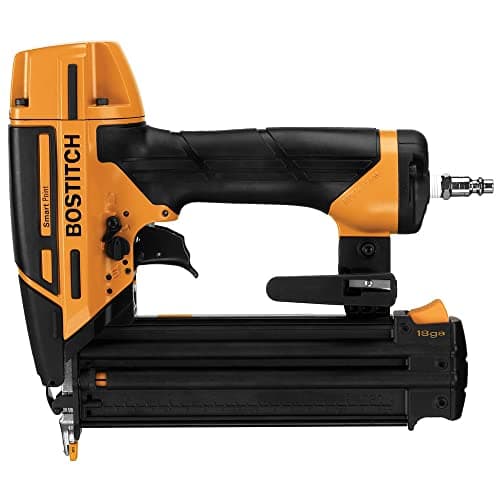
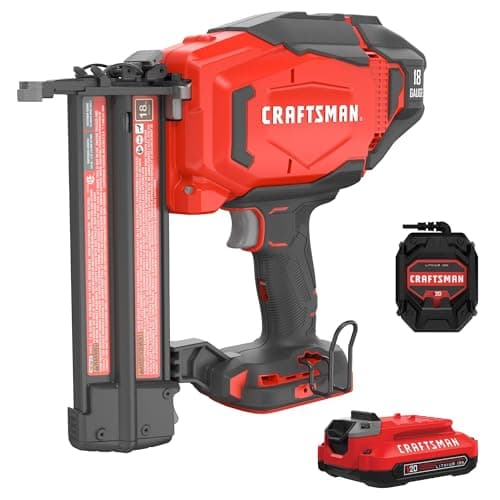
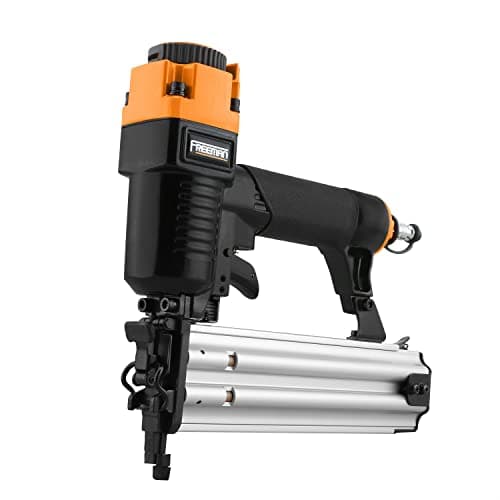
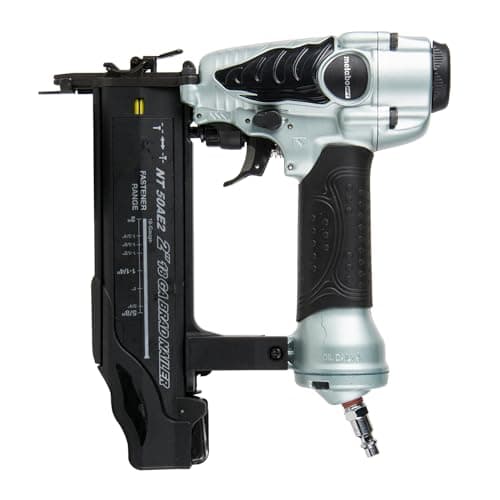
The most useful thing a brad nailer does in a wood shop is hold a glued joint closed while you go and do something else. That is the honest job description. An 18-gauge brad is a headless wire a little over a millimeter across; it is not fastening your furniture together. The glue is. The brad just stops the parts sliding while the glue grabs, which means you need three clamps instead of eleven and you get your bench back an hour earlier.
Once you see it that way, most of the marketing falls away. Firing speed does not matter, because you are not sheathing a roof. Magazine capacity barely matters, because a hundred brads is several projects. What matters is whether the brad goes exactly where you aimed, whether it sinks to the same depth every time, and whether clearing the inevitable jam takes ten seconds or ten minutes.
What we ranked these on
Nose geometry. You are usually firing into a 3/4 in. edge, often at an awkward angle, often with your other hand holding two parts in register an inch away. A fat nose you cannot see past puts the brad a sixteenth off the line, which on a face frame is the difference between a hole you fill and a hole that broke out through the side. Small nose, short contact-tip travel, clear line of sight — that is the whole game.
Depth consistency. A brad that sits proud has to be set by hand; a brad driven a sixteenth too deep has torn a crater that now needs filler. Every tool here has a tool-free depth adjustment, and every one of them still needs test shots in scrap of the same species before you touch the real work. Hardwood and softwood are different settings, and so are 5/8 in. and 2 in. brads.
Jam handling. Brads jam. Thin wire, chisel points, adhesive collation and occasionally a bent strip — it is going to happen, and it usually happens on the last part of a build. A tool-free jam release means you clear it standing up. A tool that wants the nose disassembled means you put the project down.
Handling. A pneumatic brad nailer weighs about two pounds. A cordless one with a battery on it weighs closer to five. That gap is the single biggest practical difference between the two kinds of tool, and it is felt most in exactly the position you use a brad nailer in — arm extended, tool angled, other hand busy.
Value. Not price. The Metabo HPT is cheap and the DEWALT is not, but the DEWALT does not need a compressor. We score what you end up spending to have a working brad nailer in the shop, not what the box costs.
Prices below pull live from Amazon, so what you see is today's number rather than one we typed in months ago. The realistic spread on this page runs from under fifty dollars for a basic pneumatic to several hundred for a cordless kit once a battery is included.
Gauge decides more than brand does
Every tool on this page is 18 gauge, and that is deliberate — 18 is the gauge a woodworking shop should own first. But you will meet two neighbors on the shelf, and knowing what they do stops you buying the wrong one.
23-gauge pin nailer
A 23-gauge pin is a headless wire so fine that the hole it leaves usually does not need filling. That is its entire appeal, and on a show surface it is a real one. The trade is holding power: a 23-gauge pin has very little, and the standard advice is to treat it as a clamp that holds glue in contact rather than as a fastener in its own right. If your work is small boxes, delicate moldings and mitered returns you will want one eventually — but as a second gun, not a first.
18-gauge brad nailer
The middle, and the right first choice. An 18-gauge brad has enough grip to hold a face frame or a drawer bottom on its own while glue cures, and the hole is small enough that a dab of filler and a pass with a random orbital sander makes it disappear under paint and nearly disappear under a clear finish.
16-gauge finish nailer
Thicker wire, more holding power, longer nails, a bigger hole. This is a trim carpenter's tool: baseboard, casing, crown. It will do things an 18-gauge nailer cannot, and it will also split a 3/4 in. hardwood edge that an 18-gauge brad would have gone into happily. If you build furniture rather than install trim, buy 18 gauge first and be honest with yourself about whether 16 ever gets used.
Air or battery — the question that actually costs money
A brad nailer uses very little air. Freeman lists a 1.3 SCFM at 90 psi minimum requirement for the PBR50Q, and the pneumatics here run somewhere in the 60–120 psi band. A typical 6-gallon pancake compressor is rated around 2.6 SCFM at 90 psi, which is comfortable overkill for brad nailing and is sized that way because the same compressor is expected to run a framing gun or blow out a dust port. If you already own one, the pneumatic tools on this page are the obvious buy and the cheapest by a wide margin.
If you do not own a compressor, run the whole sum before you decide. A cheap pneumatic nailer plus a compressor plus a hose plus the floor space is not cheaper than a cordless kit, and a compressor that exists only to fire brads is a loud, heavy, single-purpose object living in a corner. Compressors also want a circuit that can start them without dimming the lights, which is worth a look at workshop power requirements before you buy one for a garage shop.
The counter-argument for air is weight and immediacy. Two pounds against five is not a marginal difference when you are holding a mitered return closed with your other hand, and a pneumatic fires the instant you pull. That is why the top pick here is a pneumatic and the cordless tools sit behind it: cordless solves a problem that only exists if you do not already have air.
The trigger, and why we would set every one of these to sequential
Most brad nailers offer two firing modes. A full sequential trigger requires the contact tip to be pressed into the work first, then the trigger pulled, and both have to be released before the next shot. A contact (bump) trigger lets you hold the trigger down and fire by bumping the nose along the work, which is faster and is how trim gets installed at speed.
The joint OSHA and NIOSH guidance for contractors is unambiguous that the full sequential trigger is the safer mechanism, and that contact triggers are the ones associated with unintended discharges and double-fires. For furniture work there is no speed argument on the other side — you are placing individual brads deliberately, not running fifty feet of baseboard. Set the switch to sequential; and if a tool has no switch at all, treat that as a feature rather than a limitation.
The other habit worth building is knowing where your other hand is. Almost every brad on a woodworking project gets fired within a few inches of the hand holding the parts, and a deflected brad leaves the side of a board with real force. That is also why a pair of safety glasses belongs on your face for this job rather than on the shelf.
Choosing brad length, and why brads blow out sideways
Length
The common rule of thumb is that a brad should be about three times the thickness of the piece you are fastening, so roughly a third of its length sits in the top piece and two thirds anchors into the substrate. Fastening 1/2 in. stock, that points at a 1-1/2 in. brad. Fastening a 1/4 in. back panel, it points at something under an inch — which is exactly why the Freeman's 3/8 in. minimum is worth noting. Most nailers on the market start at 5/8 in., and a 5/8 in. brad through 1/4 in. ply into a 3/4 in. frame is fine, while the same brad through 1/4 in. ply into another 1/4 in. piece comes straight out the back.
Blowout
An 18-gauge brad is thin enough that the wood steers it. It has a chisel point, and when that point meets dense latewood, a pin knot or a sharp grain change, the shank bends away and can exit the side of the board an inch below where you fired. Two things reduce it. First, the chisel tip is oriented the same way in every strip, so the deflection is predictable: turn the tool so the magazine runs along the length of the board rather than across it, and a bend travels into the thickness of the wood instead of out through the face. Second, do not under-drive — a brad driven softly into hardwood wanders more than one driven with enough pressure to go where it was pointed, which is another argument for two minutes of test shots in the same species first.
And accept that some brads will still break out. It is a wire, not a drill bit. Put them where a blowout would be hidden — the inside face, the underside, the part that gets glued to something else — and it stops mattering.
Where a brad nailer fits in a woodworking shop
The honest list is short, and it is all support work. Tacking a panel glue-up or a mitered frame so it cannot creep while you get clamps on. Holding a face frame to a carcase until the glue sets. Attaching a 1/4 in. back panel, where nothing else is practical. Building jigs, story sticks, sacrificial fences and shop fixtures, where speed matters far more than the joint. Fastening trim and moldings that are decorative rather than structural.
The list of things it should not do matters more. A brad is not joinery. It does not replace a mortise and tenon, a dovetail, a dowel or a pocket-hole screw. If a joint will carry weight, get racked, or be opened and closed a few thousand times, it needs a real joint, and the brad is only there to hold the parts still while the glue cures. Every nailer on this page is a wood glue accessory with a trigger on it, and thinking of it that way will save you a rebuild.
What we could not verify
We have not fired these five nailers through identical test boards. Gauges, fastener length ranges, magazine capacities, weights, operating pressures and battery figures are the manufacturers' own published numbers, linked in Sources below — with one exception: bostitch.com was unreachable from our connection while this page was written, so the BOSTITCH figures come from a retailer's published specification sheet, and that is the source we have linked. The reasoning about gauge, trigger mode, brad length and deflection describes how the fasteners behave; it is not something we measured, and our methodology page says so in the same words.