The fastest reliable way to cut a dado is a stacked dado set on a table saw; the most accurate way for plywood shelving is a router running a straight bit against a clamped straightedge, cutting the groove in two passes to sneak up on the exact thickness of your shelf. Both routes are below, along with the hand-tool method, which is slower and genuinely good.
A dado is a flat-bottomed groove cut across the grain, usually to house a shelf or a divider. Cut along the grain, the same groove is called a groove; cut on an edge, it is a rabbet. The tooling is the same for all three, and so is the problem that catches everyone.
The plywood problem, first, because it decides your method
Nominal 3/4 in. plywood is not 3/4 in. thick. It is usually a shade under — and the amount under varies by sheet, by brand and by import origin. A dado cut to a true 3/4 in. is therefore a loose dado, and a shelf that rattles in its housing is a shelf relying on glue alone, in the one joint where a mechanical fit is the whole point.
You have three honest answers:
- Shim a stacked dado set. Quality stacks ship with shims for exactly this. You are adjusting the width of the cut in thousandths until a scrap of your actual shelf material fits snugly.
- Two passes with a router. Cut the groove undersized with a straight bit, move the fence a hair, cut again. The second pass sets the final width against your material rather than against a number.
- Buy an undersized straight bit.Sold as 23/32 in. or "plywood" bits, made for this exact mismatch.
Whichever you choose, the rule is the same: fit the dado to the shelf you have, with an offcut of that shelf as the gauge, and cut a test piece first.
Method 1: table saw with a stacked dado set
A stacked dado set is two outer blades with chipper blades between them; you add and remove chippers and shims to build the width you want, up to about 7/8 in. on an 8 in. set. The workpiece goes across the saw against a miter gauge or a crosscut sled, not freehand, and the rip fence is used only as a stop for repeat positioning, never to guide a crosscut.
Two cautions worth more than any speed tip. First, many portable and jobsite saws publish that their arbor is too short to take a full stacked set, and some cannot fit one at all — check your own saw's manual before you buy a stack. Second, a dado set removes a lot of material at once and wants to lift the work; hold it down and forward with a hold-down or push block, and take the cut in one steady pass.
Method 2: router and straight bit
For a dado in a sheet of plywood — a bookcase side, a cabinet carcase — a router is usually easier than a saw, because the sheet stays still and the tool moves. Clamp a straightedge, set the bit depth, and run the router base against the straightedge in one direction, then check the fit.
An upcut spiral bit clears chips upward and leaves a clean flat bottom, which is what you want in a dado that has to seat a shelf. The trade is that an upcut lifts the surface fibres slightly at the edges of the groove — invisible once a shelf is in it, worth knowing if the groove is a show surface.
Method 3: by hand
Mark both walls with a marking gauge or a knife, saw down each wall to depth with a backsaw — a strip of wood clamped on the waste side acts as a saw guide — then pare the waste out with a chisel, working from both ends toward the middle so you do not blow out the far edge. A router plane levels the floor of the dado if you own one.
This is slow and it is accurate, because the knife lines define the walls and nothing is relying on a machine setting. For one bookcase it is entirely reasonable.
Depth, and the two rules
Cut a dado between one third and one half of the thickness of the material you are cutting into. In 3/4 in. stock that means 1/4 in. to 3/8 in. Deeper than half and you are weakening the side more than the joint gains; shallower than a third and there is not enough wall to resist a shelf sagging out of it.
The second rule is that a dado near the end of a board wants to be a stopped dado: stop the groove short of the front edge so it does not show, and notch the front corner of the shelf to match. On a bookcase, that is the difference between furniture and shop shelving.
The tools for each route
One stacked set and one straight bit cover almost every dado a furniture shop cuts. The picks below are the ones we rank for each route.
The four side by side
Published listing specifications for the four picks above.
| Tool | Route | Published specifications |
|---|
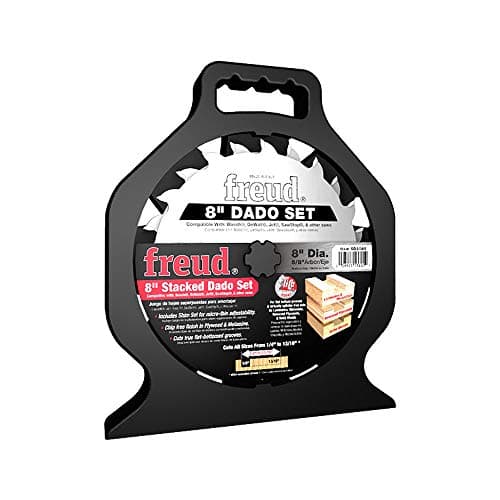
| Freud SD208S Pro Dado Set | Table saw | 8 in. / 12T, 1/4–7/8 in. range, 3 chippers + shims, 6,000 max RPM |
| Whiteside RU5150 spiral upcut | Router | 1/2 in. cutting diameter, 1/2 in. shank, 1-1/2 in. cutting length, solid carbide |
| Oshlun SDS-0630 (6 in.) | Table saw, short arbor | 6 in. / 30T stacked set |
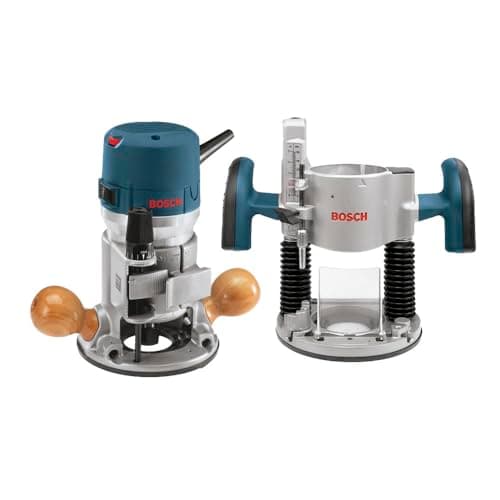
| Bosch 1617EVSPK router combo | Router | 2.25 HP, 8,000–25,000 RPM, fixed and plunge bases, 1/4 and 1/2 in. collets |
Why a 6 in. stack exists
A dado set never cuts to its full radius — the deepest dado anyone cuts is well under half an inch, so the extra diameter of an 8 in. set does nothing except demand more of the saw and more arbor length. A 6 in. stack is lighter, spins up easier on a smaller motor, and fits saws an 8 in. stack will not. If your saw is a benchtop or jobsite model, look at the 6 in. option first and check your arbor length against the manual.
The full comparison, including tooth geometry and shim resolution, is in our dado blade set roundup.
Sneaking up on the fit, in practice
The method that never fails, on either machine: set the cut deliberately narrow, run a test groove in scrap of the same thickness as the workpiece, and try the shelf. Too tight, widen by one shim or nudge the fence a few thousandths and cut again. Repeat until the shelf slides in with hand pressure and stays put when you lift the test piece by it.
That is the target fit — snug, not hammered. A dado you have to drive a shelf into scrapes the glue off the walls on the way in, and a glue joint with no glue left in it is just a friction fit.
Tearout at the walls
Dados cross the grain, so the top edges of the groove are being cut across the fibres and want to splinter. Three things control it: score the wall lines with a marking knife before you cut, back the cut with a sacrificial fence or scrap at the exit, and take the final width from a second light pass rather than hogging the full width at once.
On veneered plywood the knife line matters most — the face veneer is thin and splinters at the slightest provocation. The general causes and fixes are in how to prevent tearout.
Where these numbers come from
The blade diameters, tooth counts, width ranges, bit dimensions and router specifications above are the manufacturers' own published listing specifications, cited per product in Sources. The depth and fit conventions are standard shop practice, not tested claims — we do not run a lab, and our methodology page says so. Prices come from the live price feed and carry the date they were pulled.