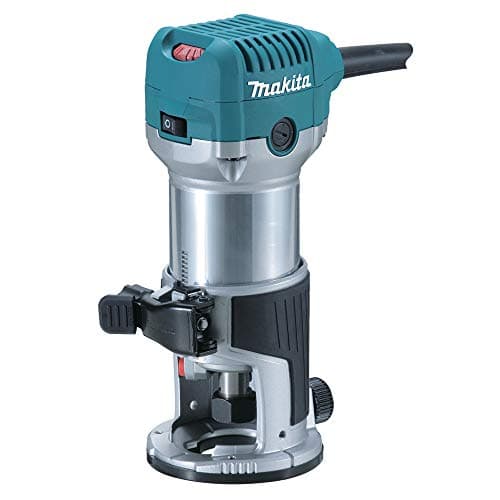
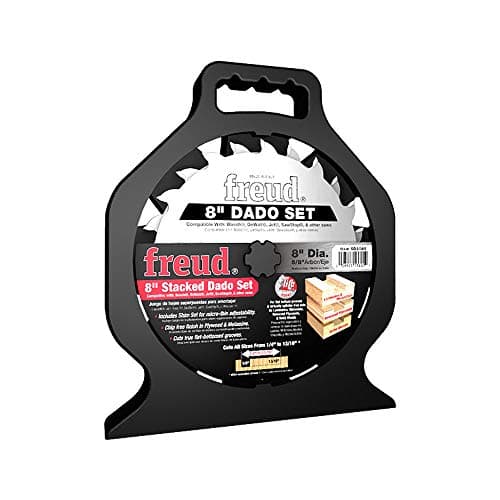
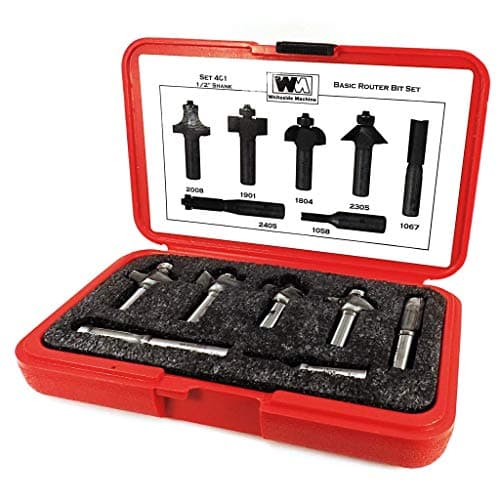
If you own a router, cut rabbets with a straight bit against the router table fence or an edge guide — it is the cleanest and the most adjustable. If you own only a table saw, cut them in two passes with the blade you already have: one cut with the board flat, one with it on edge, and the waste falls out. No special tooling is required for either.
A rabbet (a rebate, in British shops) is a step cut along the edge or end of a board. It has one wall and one floor, where a dado has two walls. You meet it everywhere: the recess that takes a cabinet back, the step that holds glass in a door frame, the shoulder on a shiplap board, the corner joint on a drawer or a simple box.
Why it is worth cutting rather than screwing
A rabbeted joint does two jobs a butt joint cannot. It registers the parts — the step locates the back panel or the box side automatically, so assembly stops being a three-handed job — and it adds glue surface, converting a weak end-grain butt into a joint with a long-grain component.
On a cabinet back it also hides the panel edge and lets the carcase sit flat against a wall. That is why it is still the standard detail on casework.
Method 1: router table or edge guide
Fit a straight bit, set the fence so the exposed part of the bit equals the rabbet width, and set the bit height to the depth. Run the board along the fence with the face down, taking the full depth in two or three passes rather than one — a single deep pass burns the bit, loads the motor and tears the exit corner.
A dedicated rabbeting bit with a bearing is the other router route: the bearing rides the edge of the board, so the width is set by the bearing rather than by a fence and you can cut a rabbet on a curved edge. We will say plainly that our registry does not currently carry a bearing-guided rabbeting bit, so the picks below are the straight-bit route and the sets that include one. Our router bits roundup covers what is in each set.
Method 2: table saw, two passes, no special blade
This is the method worth knowing because it needs nothing you do not own.
- Set the blade height to the depth of the rabbet and the fence so the cut falls at the inside wall. Run the board flat on the table. This cuts the shoulder.
- Set the blade height to the widthof the rabbet and the fence so the offcut falls on the outside of the blade. Stand the board on edge against the fence — a tall auxiliary fence makes this far safer — and run it through. The waste strip falls away.
The one thing to get right is which side of the blade the waste falls on. Arrange it so the offcut is on the outside, never trapped between blade and fence, where it can be thrown back at you.
Method 3: table saw with a dado stack
A stacked dado set cuts the whole rabbet in one pass, with a sacrificial wooden face clamped to the rip fence so you can bury part of the stack in it and set any width you like. For production — the backs of six cabinets — it is the fastest route by a distance. For one box, setting the stack up takes longer than the two-pass method takes to do.
Method 4: by hand
Gauge both lines, saw the shoulder down to depth with a backsaw, then remove the waste with a chisel working from the end grain inward. A dedicated rabbet or shoulder plane cleans the floor and the wall square; our registry does not carry one, and we would rather say so than point you at something that is not the tool. A wide bench chisel, used bevel down and then bevel up for the final pass, gets a tidy result.
Grain direction decides whether the corner survives
A rabbet cut across the grain — on the end of a board — blows out at the far corner, every time, unless you back it. A rabbet cut along the grain does not. The fixes are the same whichever method you use:
- Back the cut with a scrap clamped at the exit, so the splinter happens in the scrap.
- Score the shoulder line with a marking knife first on any show surface.
- Cut the cross-grain rabbets first and the long-grain ones second, so the long-grain pass cleans up any damage at the corners.
Depth and width, as a starting point
For a cabinet back in 1/4 in. ply, a 1/4 in. wide by 3/8 in. deep rabbet is the usual detail — wide enough to take the panel, deep enough to leave the panel slightly proud so it can be trimmed flush. For a box corner joint, half the stock thickness each way is the conventional starting point.
As with a dado, fit the rabbet to the material you actually have rather than to its nominal size. Plywood is reliably thinner than its label.
The tools for each route
A straight bit and a router cover every rabbet in a furniture shop; a dado stack covers them faster when there are many. The picks below are what we rank for each.
The four side by side
Published listing specifications for the four picks above.
| Tool | Route | Published specifications |
|---|
| Whiteside 401 bit set | Router, straight bit | 7 pieces, 1/2 in. shank, carbide tipped, straight / round-over / flush / cove |
| Makita RT0701C | Router, edge guide | 1.25 HP, 10,000–30,000 RPM, 1/4 in. collet, variable speed |
| Freud SD208S dado set | Table saw, one pass | 8 in. / 12T, 1/4–7/8 in. range, 3 chippers + shims |
| Diablo D1050X | Table saw, two passes | 10 in. / 50T ATB, 0.098 in. kerf, 6,000 max RPM |
Why a combination blade is the two-pass blade
The two-pass method makes one cut with the grain and one across it, which is exactly the situation a combination blade exists for: a tooth pattern that rips acceptably and crosscuts acceptably rather than excelling at one. A dedicated 80-tooth crosscut blade gives a cleaner shoulder but labours in the rip pass; a 24-tooth rip blade does the opposite.
If you are choosing blades generally rather than for this job, our table saw blade roundup ranks the family on tooth count and grind.
Climb cutting: when and why not
Feeding a router the "wrong" way — so the bit pulls the tool along rather than resisting it — leaves a cleaner edge on figured grain, because the cutter enters the fibres from the supported side. It also means the tool is trying to run away from you, and in a router table it means the work is trying to shoot across the shop.
The defensible version is a very light climb pass, no more than a shaving deep, as thelast pass on a show edge, with the work firmly controlled. Never as a roughing pass, and never with a large bit. If a rabbet keeps tearing, back the exit corner and take lighter conventional passes before you reach for this.
Rabbet, groove and dado as one family
These three joints share tooling and differ only in where the recess sits: a groove runs with the grain in the middle of a board, a dado runs across it, and a rabbet sits on the edge. Set a router up for one and you are two fence adjustments away from the others, which is why a single straight bit and a decent fence does most of the joinery in a plywood project.
The wider map of which joint to use when is in wood joint types explained, and the stronger frame joint is in tools needed for mortise and tenon joints.
Where these numbers come from
The bit counts, shank sizes, motor ratings, speed ranges, tooth counts and kerf widths above are the manufacturers' own published listing specifications, cited per product in Sources. The dimensions suggested for cabinet backs and box corners are conventional shop practice rather than tested results; we do not run a lab, and our methodology page says so plainly. Prices come from the live price feed and carry the date they were pulled.