A miter saw is the hardest machine in a wood shop to collect from, and the reason is geometry: the blade is open on three sides and it throws dust in an arc behind and to the side of the cut, at speed. There is no enclosure to extract from because there is no enclosure.
This is worth saying plainly up front, because the internet is full of setups that promise to fix it and none of them fully do. A realistic goal is to catch most of the volume and get the fine airborne fraction out of the room. Perfect capture is not on the table.
Why the factory bag fails
The zippered bag that comes with the saw catches a modest share of the dust and blows the finest fraction straight through its own weave — the particles that matter most for your lungs are exactly the ones it does not stop. It also fills quickly, and a full bag collects nothing at all.
The bag is not useless: on site, with nothing else available, it is better than an open port. In a shop it should be the first thing you take off.
The three measures that actually help
1. A shop vac on the port
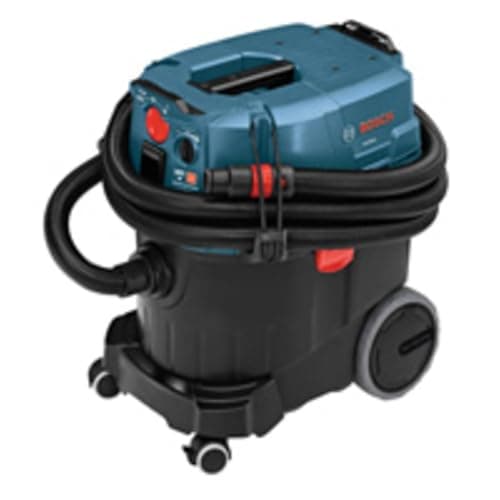
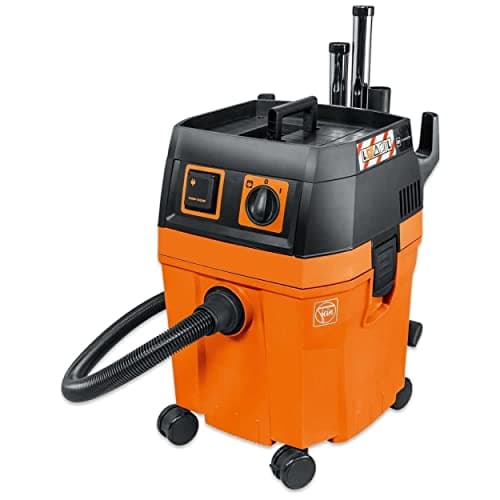
A miter saw's port is small — commonly 1-1/4 to 2-1/2 in. — and it sits right behind the blade guard where velocity matters more than volume. That is precisely a shop vac's strength, and the wrong shape for a large collector. Connect the vac, ideally with an automatic tool-start outlet so it runs only during the cut.
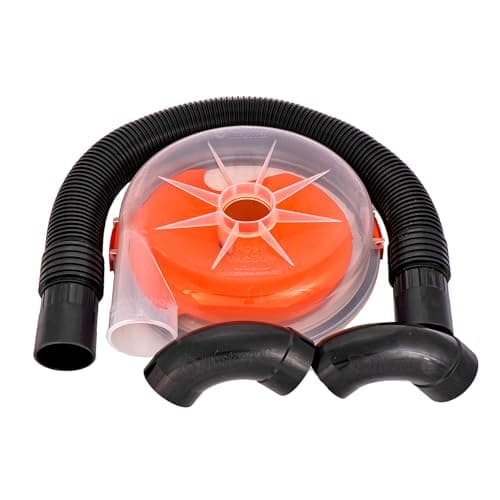
Fit a separator in the line. Miter saw offcut dust is coarse and voluminous, and it will fill a vac drum and blind its filter in a session or two otherwise.
2. A hood behind the saw
This is the measure that makes the biggest difference and the one most people skip. Build a three-sided box around the back and sides of the saw — plywood, hardboard, even stiff cardboard to start — so the arc of dust hits a surface instead of the shop. Put a 4-inch port low in the back panel and connect it to a real dust collector.
The hood works because it changes the problem from “capture dust traveling at speed” to “collect dust that has already hit a wall and fallen”. That is a far easier job, and it is why a rough shop-built hood outperforms an expensive accessory clamped to the port.
Two practical notes: leave clearance for the saw's full bevel and slide travel before you build, and keep the hood open at the front so you can see the cut line.
3. Air filtration for what escapes
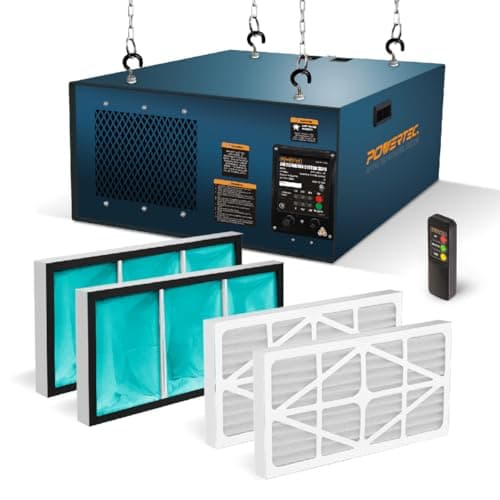
Whatever you do, some fine dust gets into the room. An air filtration unit running during and after the session scrubs it out. This is not an alternative to capture at the machine — it is the layer that handles the fraction capture always misses.
The two-collector question
Running a vac on the port and a collector on the hood at the same time is genuinely the most effective setup, and it is what dedicated miter stations tend to end up with. If you only want one machine running, the hood on a collector beats the vac on the port — volume caught matters more than the small fraction the port takes.
Placement helps more than you would think
A miter saw against a wall throws dust into a corner where it settles and stays. A miter saw in the middle of a shop throws it across everything you own. If you cannot build a hood yet, simply moving the saw so its dust arc points at a wall — ideally an outside door in warm weather — is a free improvement.
This is also worth planning into a shop layout from the start rather than working around later; our garage workshop layout guide covers where the noisy, dusty machines want to live.
What to accept
Even a good setup leaves dust on the floor around a miter saw. Sweeping is part of using one. What you are buying with a hood and a vac is not a clean floor — it is far less fine dust in the air, which is the part that matters. A respirator for long cutting sessions is still sensible.
What we could not verify
We have not measured capture percentages on specific saws or hood designs. Port sizes and machine ratings come from the manufacturers' current listings; the reasoning about dust arcs, velocity versus volume and hood behavior is airflow behavior rather than a test we ran.