Use a jack plane, work across the grain first, and check with a straightedge as you go. A bench top is too big and too heavy to put through a planer and too wide for a jointer, so the tool comes to the work rather than the other way round. An hour with a No. 5 and a straightedge will take a top from visibly hollow to flat enough for any joinery you do on it.
The second thing to know is that “flat” here is a lower bar than you think. A bench top needs to be flat enough that a board does not rock on it and that a clamped assembly comes out of the clamps straight. It does not need to be a surface plate. Chasing thousandths across six feet of wood that moves with the seasons is work with no payoff.
Find out what is actually wrong first
Three defects look similar and need different treatment, so spend five minutes diagnosing before you cut anything.
- Hollow or crowned along the length: lay a long straightedge on the top in several places and look for daylight under the middle or the ends. The blade of a combination square works for short spans; for a long bench, a factory-edged piece of plywood or a long aluminium level is the usual stand-in.
- Twist (wind):set a pair of winding sticks — any two straight, parallel-sided pieces of stock, one at each end of the bench — and sight across their top edges from a few feet away. If they are not parallel to each other, the top is twisted. This is the defect people miss, and it is the one that makes a clamped frame come out of wind.
- Local high spots:dried glue, a proud dog hole edge, a patch that was never planed after a repair. Deal with these individually before you flatten anything — and scrape the glue off, do not plane it, because dried glue dulls an iron immediately.
The sequence: across, diagonal, along
Set the plane for a thick shaving to start and work in three stages. Each stage is coarser than the next and each one removes the marks of the one before.
- Traverse. Plane straight across the width of the bench, perpendicular to the grain, working from one end to the other. Across the grain, a jack plane removes material fast and the fibres cannot pull the cut off line. This is where the flattening actually happens. Keep the plane in contact over the whole width and do not dwell in the middle.
- Diagonal.Two sets of passes at roughly 45 degrees, one in each direction, to level the ridges left by traversing. Re-check with the straightedge and the winding sticks after this stage, not before — this is the point at which the surface is flat but rough.
- Along. Finally, light passes along the grain with the iron set fine, to take the surface back to something pleasant to work on. A smoothing plane is nicer here than the jack, but the jack with a fine setting is entirely adequate.
Work the high spots, not the whole surface. Mark them with chalk or a pencil from the straightedge check, plane until the marks are gone, then re-check and re-mark. Flattening is a loop of measure, remove, measure — not one continuous attack.
A cambered iron makes this much easier
Grind a gentle curve across the width of the jack plane's iron — a camber. A straight iron digs its corners in and leaves tracks you then have to remove; a cambered iron takes a shaving thick in the middle and feathered at the edges, which is exactly what you want when hogging material across the grain.
This is the standard setup for a jack plane and it is why most people own a dedicated one. Our plane tuning guide covers the camber, the frog setting and the mouth opening, and hand plane types explained covers why a No. 5 is the right length for this job — long enough to bridge hollows, short enough to follow a surface you are reshaping.
The belt sander route, and why it is second choice
A belt sander will flatten a bench top. It is faster to start, requires no sharpening, and it is how a great many benches get flattened in practice. The reason it is not our first recommendation is control: a sander rides on a 3 or 4 in. platen, which is short enough to follow a hollow rather than bridge it, and it is very easy to dish an area while convinced you are levelling it.
If you go this way, work diagonally in both directions rather than along the bench, keep the machine moving constantly, and check with a straightedge far more often than feels necessary. Use 80 grit, not 40 — a coarse belt on a soft maple top removes material faster than your eye tracks it. Then finish along the grain with a random orbit sander at 120. The family is ranked at best belt sander, and the technique rules for the orbital stage are in how to use a random orbital sander.
The router sled route
A router on a sled running on rails either side of the bench will produce a dead-flat surface with no skill required, and it is the right answer for a slab top with wild grain or for an end-grain top where planing is genuinely hard. The costs are setup time, a great deal of dust, and a surface that then needs sanding or planing anyway to remove the bit's scallops.
It is worth building the sled if you have several slabs to do. For one bench top that is already nearly flat, it is more work than the plane.
Finish, or leave it bare?
Leave a bench top unfinished or give it a wipe of oil. Do not varnish or polyurethane it: a film finish makes the top slippery, workpieces slide, and glue sticks to the film and pulls it off in patches. An oiled top takes a dent and a glue drip in its stride and can be re-flattened at any time without stripping anything.
How often to do this at all? When the work tells you — typically every year or two in a shop with seasonal humidity swings, and after any major change like fitting a vice or boring new dog holes. If you are in the middle of setting a bench up, the two related questions are height and workholding: how tall should a workbench be and how to mount a bench vise.
What you need
A jack plane, something straight to check against, and ideally a smoother for the final passes. If you would rather go the power route, a belt sander replaces the first two stages but not the straightedge. All four are below.
The four side by side
Published listing specifications for the four picks above. Sole length is the figure that matters on the planes: a longer sole bridges hollows instead of diving into them, which is the entire reason a jack plane rather than a block plane does this job.
| Tool | Role here | Published specifications |
|---|
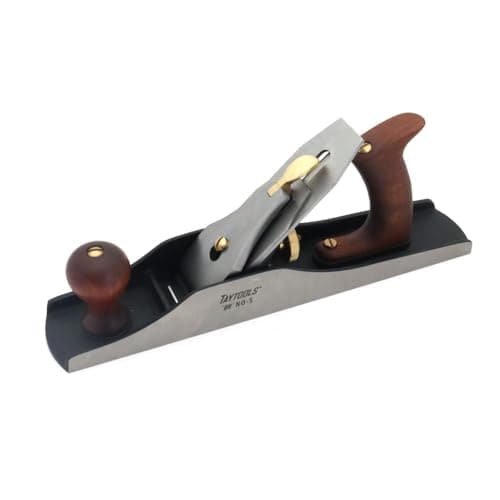
| Taytools #5 jack plane | The flattening plane — traverse and diagonal stages | 14 in. sole, 2 in. blade, cryo O1 steel, Bedrock-style frog |
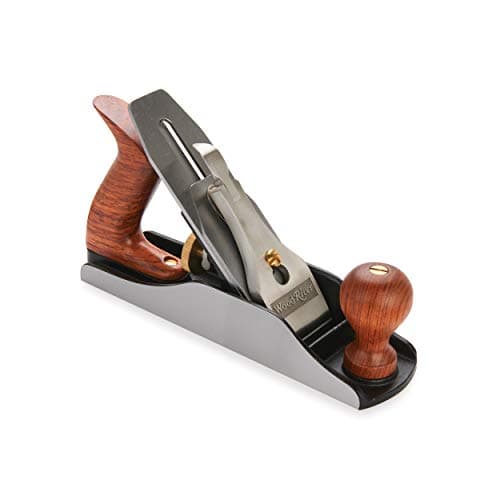
| WoodRiver No. 4 bench plane (V3) | Final passes along the grain | No. 4 smoother, Bedrock-pattern frog, thick iron, ductile cast body |
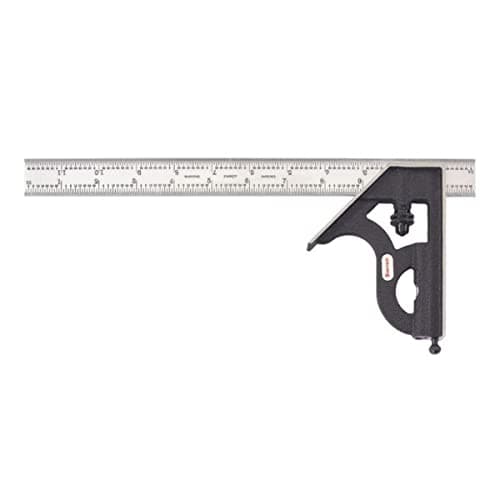
| Starrett C11H-12-4R combination square | Straightedge for short spans; squares the ends | 12 in. blade, 4R graduations, cast-iron head, hardened steel |
| Makita 9403 belt sander | The power route, if you would rather sand than plane | 4 x 24 in. belt, 11 A, 1,640 ft/min, 84 dB published, 12.6 lb |
Why the 4 x 24 belt sander rather than a 3 x 21
Platen length is what decides whether a belt sander flattens or follows. A 4 x 24 in. machine has a longer, wider footprint than a 3 x 21, so it bridges small hollows instead of dropping into them, and the extra weight helps it sit flat rather than tipping. That is a liability on furniture, where the same mass will destroy a veneer, and an asset on a slab of hard maple that is not going anywhere.
For what it is worth, this is the opposite of the advice on our sander for refinishing furniture page, and for a good reason: that page is about not removing wood, and this one is about removing quite a lot of it.
Winding sticks cost nothing
You do not buy winding sticks. Rip two pieces of straight, stable stock about 18 in. long and 2 in. wide, make sure their long edges are parallel, and mark one of them with a dark strip so it is easier to sight against. Set one at each end of the bench, step back, and sight across the top edges. Any twist in the top shows up as a wedge of light between the two sticks, magnified by the distance between them.
That magnification is the whole trick, and it will show you a twist that a straightedge laid on the surface never reveals.
Keep the iron sharp, and the glue off it
Flattening a bench top is a lot of cutting, mostly across the grain and often in whatever timber the top is made of. Expect to hone at least once in the middle of the job; a plane that suddenly needs pushing is a plane that needs honing, not more effort. The stones are at best sharpening stones and the technique transfers directly from how to sharpen chisels.
Scrape dried glue off with a chisel or a scraper before the plane touches it. A glue blob will nick an iron in one pass, and then every subsequent pass leaves a line in the surface until you re-hone.
If the top is in worse shape than planing can fix
A top that is badly cupped, delaminating, or so thin that flattening would compromise it is a replacement rather than a repair. Bench tops are consumable in a way the base is not, and a new laminated top on a sound base is a weekend. Our workbench roundup is the place to start if you are weighing repair against replacement, and flattening a board without a jointer covers the same technique applied to the boards you would build a new top from.
Where these numbers come from
The sole lengths, blade widths, steels, belt sizes, amperages, speeds, noise figures and weights above are the manufacturers' own published listing specifications, cited per tool in Sources. The method is standard hand-tool practice rather than something we measured; we do not run a lab, and our methodology page says so. Prices come from the live price feed and carry the date they were pulled.